Are you ready to elevate your makeup game and achieve a flawless, dewy look that radiates natural beauty? Look no further than underpainting! Whether you’re a makeup enthusiast or a beauty novice, underpainting is a technique that can transform your complexion and create a long-lasting, luminous finish.We will delve into the world of underpainting and explore how this technique can help you achieve a flawless, dewy makeup look that turns heads. Get ready to unlock the secrets of underpainting and enhance your natural beauty like never before.
What is underpainting all about?
Underpainting is a technique used in makeup application to create a flawless, dewy look that lasts all day. It involves applying a thin layer of color corrector or foundation in a shade that complements your skin tone before applying your regular foundation. This technique helps to neutralize any discoloration or imperfections, creating a smooth canvas for your makeup and enhancing the longevity of your look.
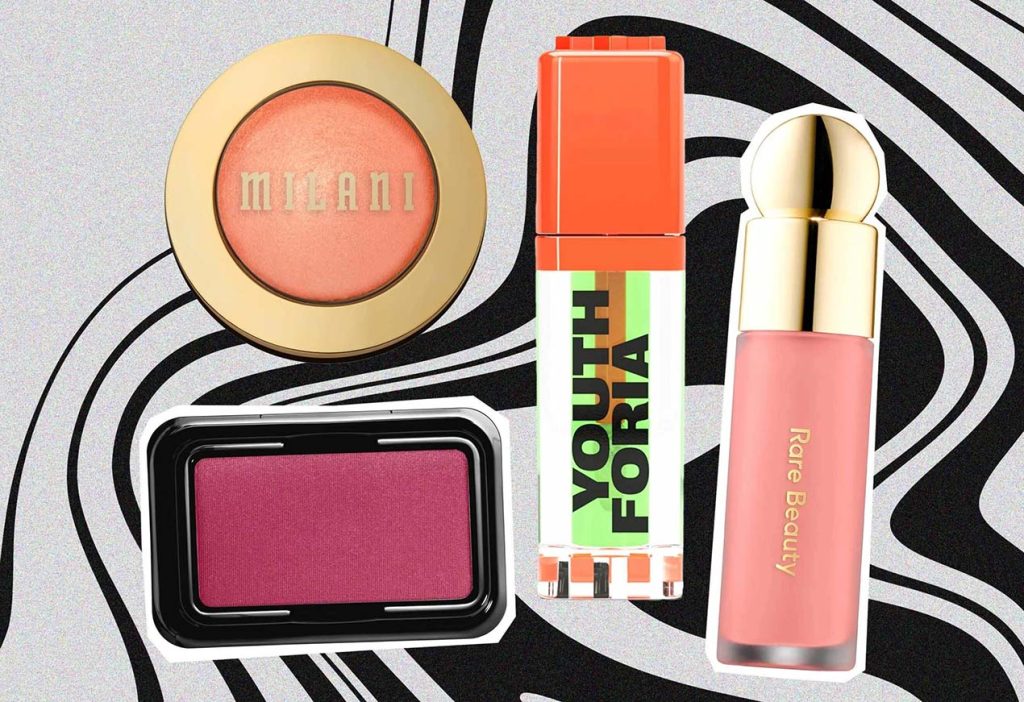
What are the right products to pick for underpainting?
Color Correctors:
Choose color correctors based on your specific skin concerns. Green correctors work well to counteract redness, while peach or salmon correctors can help to neutralize dark circles and hyperpigmentation. Yellow correctors are great for brightening dull skin, and lavender correctors can counteract sallowness or yellow undertones.
Foundation:
Opt for a lightweight, buildable foundation that matches your skin tone. Look for formulas that offer a dewy or satin finish to enhance the natural radiance of your skin.
Beauty Blender or Makeup Brush:
Invest in a high-quality beauty blender or a dense, synthetic makeup brush for seamless application. These tools help to blend the products effortlessly and achieve a smooth, airbrushed finish.
A step-by-step guide to underpainting:
Step 1: Prep your skin
Start by cleansing and moisturizing your skin to create a smooth base. Apply a primer suitable for your skin type to help your makeup last longer.
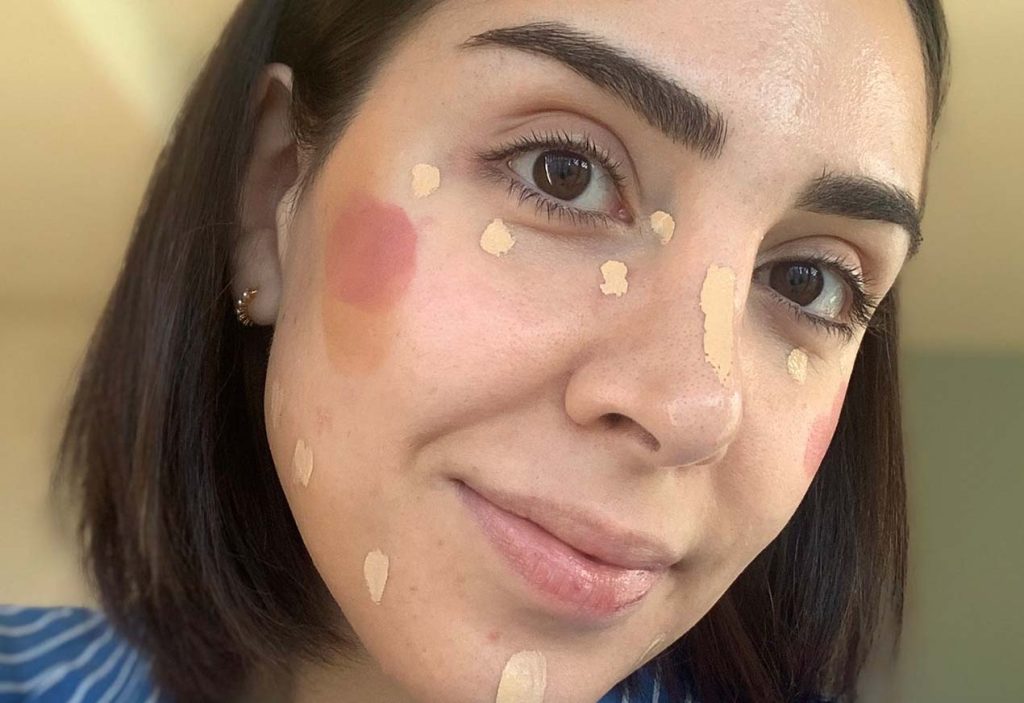
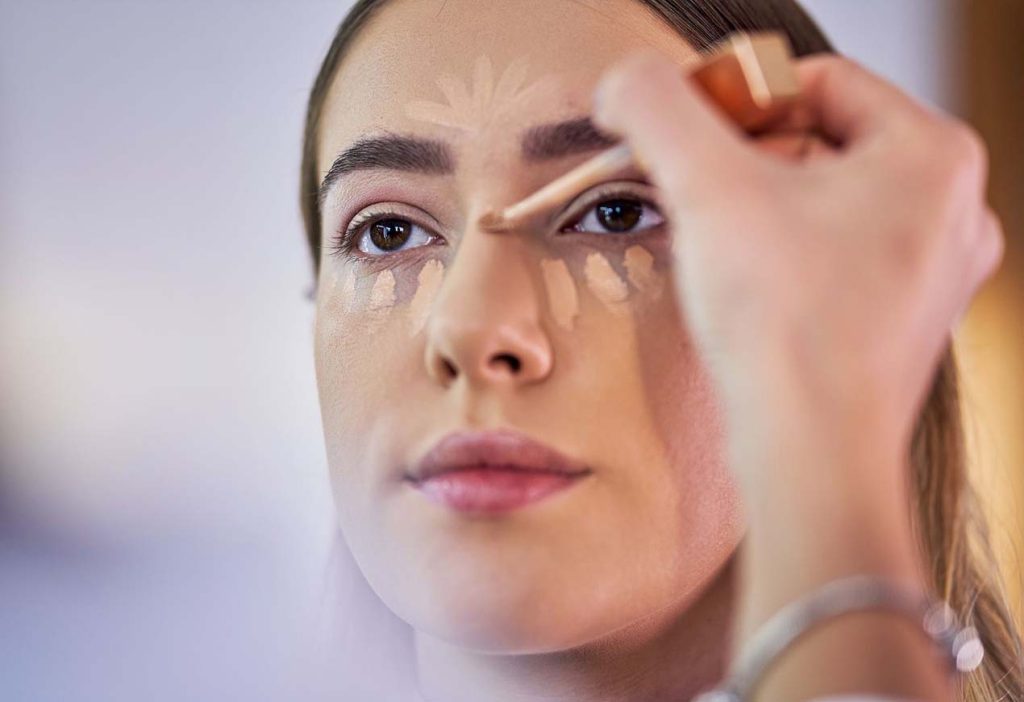
Step 2: Color correcting
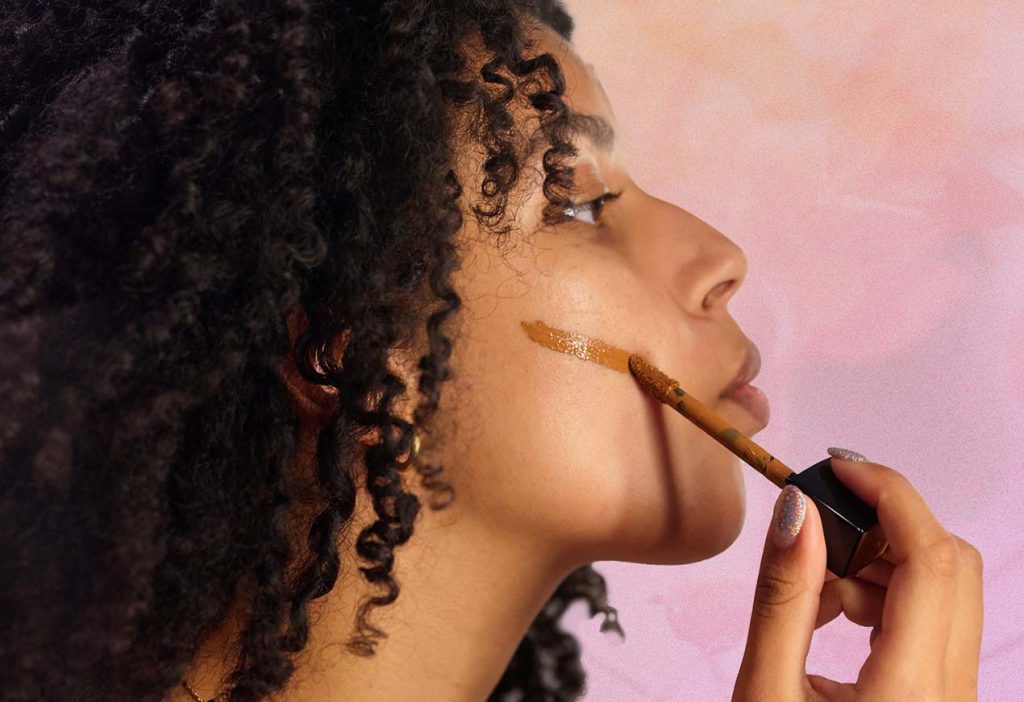
Identify any areas of concern on your face, such as redness, dark circles, or discoloration. Apply a small amount of the appropriate color corrector to those areas using a clean finger or a small brush. Gently blend the corrector until it seamlessly blends with your skin.
Step 3: Foundation application
Take a small amount of your regular foundation and dot it onto your face, focusing on the areas where you applied the color corrector. Use a damp beauty blender or a brush to blend the foundation into your skin, starting from the center of your face and blending outwards. Ensure that the foundation is evenly applied and covers any imperfections.
Step 4: Set your underpainting
To set your underpainting and ensure its longevity, lightly dust a translucent powder over your entire face. Pay extra attention to areas prone to oiliness or where your makeup tends to fade, such as the T-zone.
Step 5: Continue with your regular makeup routine
Now that your underpainting is complete, proceed with your regular makeup routine. Apply concealer, if needed, to further camouflage any remaining imperfections. Add bronzer, blush, and highlighter to enhance your features and create dimension. Complete the look with your favorite eye makeup and lip color.
By incorporating underpainting into your makeup routine, you can achieve a flawless, dewy look that lasts throughout the day. This technique helps to neutralize discoloration, even out your skin tone, and create a smooth canvas for the rest of your makeup. Remember to choose the right color correctors, lightweight foundation, and quality tools for seamless application. With this step-by-step guide, you can master the art of underpainting and enjoy a radiant, long-lasting makeup look that enhances your natural beauty.